
I started out doing one craft and ended up doing quite a few. I never was able to prevent the proverbial rabbit trail around here… and that goes for homeschooling, crafting, and life in general.
I tend to get lost looking at amazing things on Pinterest and say to myself, “I could make that!” And this year, since my word is CHANGE – I’ve decided to change my lazy habit of just putting creating off for some other day. This year I’m going to CREATE ART RIGHT NOW so I can enjoy it.
This project was one of the fun new changes for 2013. A procrastination project completed. I always want a nice holiday centerpiece. I love changing things out for the seasons. I’d probably change my whole home decor if I could. Maybe one day I will – once the kids are out on their own and I can change the base furniture down to basic white and just keep a stash of different colored pillows and throws in a “season” closet somewhere.
A girl can dream.
Ok, so let’s get down to the project… first off, the photo doesn’t do it justice. It’s sparkly and whimsical in the sunlight. It has just enough rustic and just enough bling. Shabby chic, all the way.
I paid 50% at Hobby Lobby for the little bird cage pedestal and the charcoal grey crate. Everything else I had at my house, besides a few craft supplies I had to purchase.
First off, the centerpiece contains: VALENTINES – or heart-themed BOOKS, antique bottles (and one is a modern Coke bottle), a Valentine “Tree” made from a branch in my front yard that the neighbor boys accidentally knocked off while swatting at my wasp nest this past summer, a few hand made bookmarks, some sparkly heart ornaments from IKEA that I had leftover from last year, and some paper heart ornaments made from an old book we are in the process of tearing apart…. oh, and a silver garland of hearts that came in the same box with the IKEA hearts (which is trailing around the outside of the box – just for a little extra glitter).
Here is what we did to create it:
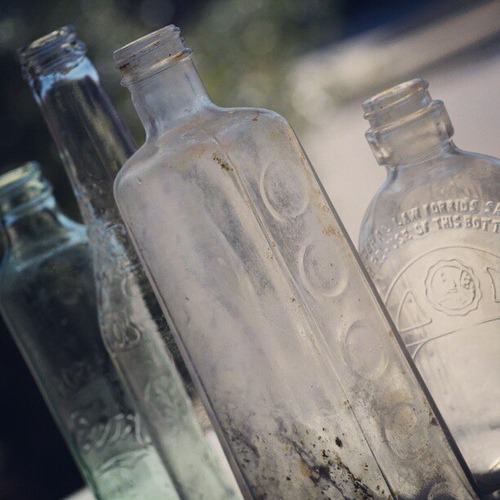
The entire project started with these bottles. Most of which were found in an old shed on some property a friend owns. They had been outdoors and mud and bugs had been growing nests and rotting inside them for years. I tried forever to clean them up. I just couldn’t get them totally clean. I found a tutorial for distressing Mason Jars on Pinterest and these bottles now have a brand new lease on life! I did 2 piggy pink for Valentines and 2 a soft green for St. Patrick’s Day. I’m going to re-make my table in March and post the photo here, linking back to this tutorial just in case someone new wants to surf in and see how we painted the bottles.
Note: Two of the bottles were antiques and two were MODERN pop bottles. One was a Jarritos bottle and the other was a Coca Cola bottle with raised lettering.
Step 1 was painting them black with spray paint – making sure to lay it on thick and cover the inside of the rim of the bottle.

Make sure you have your garage door open when you spray paint. Try not to inhale that stuff! I used an old moving box to set them on and took advantage of the nice cool breezes in Texas winter.
Note: The more raised edges or lettering on the bottle, the more interesting the final product will be – because when you sand down through the colored layer, you will expose the black on spots where the sandpaper catches the most.
Step 2 was spray painting the bottles pink (you could use any color)…
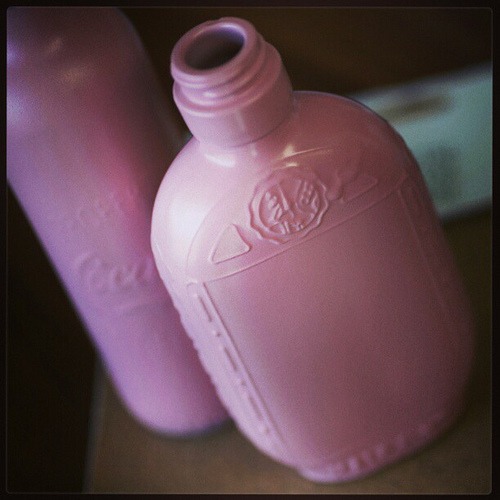
I made sure it was thick because the tutorial said to use two coats. I’m not sure I used two coats, but I did cover all over the white labeling info on the Coca Cola bottle really well. Make sure it is really good and dry before you sand on the next step. My husband suggested possibly baking them to get a crackle effect and set the paint even more, but I was too impatient for that.
Step 3 – sanding the pink off in some spots. I used a pretty heavy sandpaper. You have to practice at the sanding. If you make a mistake, just go over it a few times again and see what it looks like. The letters that are raised will show through better after you sand them some. I love the way the black and pink look together. It works great with the book pages we watercolored pink – with little black words showing through.
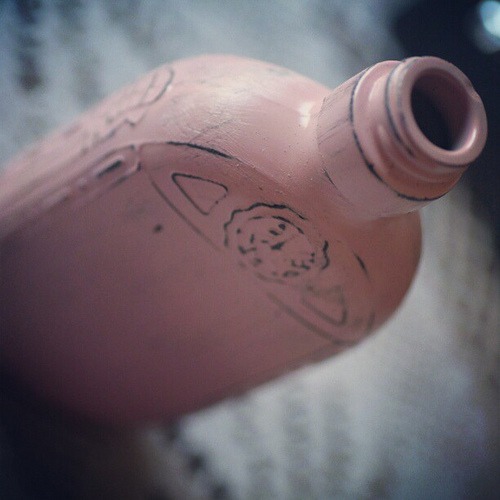
You can see that there is a roughness to it. You could probably polish that down some… but if you aren’t looking at it up close, you don’t notice it at all. I wiped these down on my jeans after I was done and dusted off the paint in the garage. This took just a few minutes, literally. So easy.
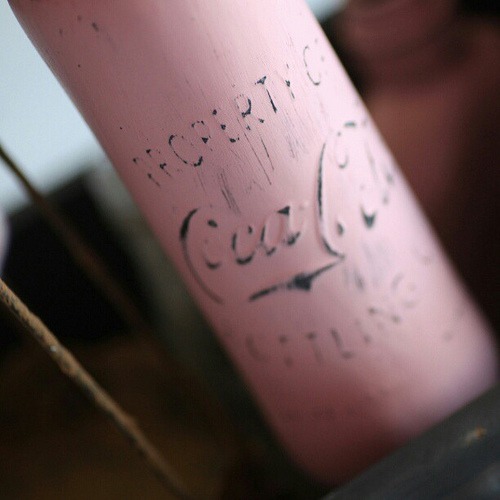
I love the antique bottle, but the Coca Cola one is probably my favorite. I used this one for the Valentine Tree. I just stuck the dessert willow branches in the top of the bottle and placed both pink bottles inside the little wooden box we got at Hobby Lobby.
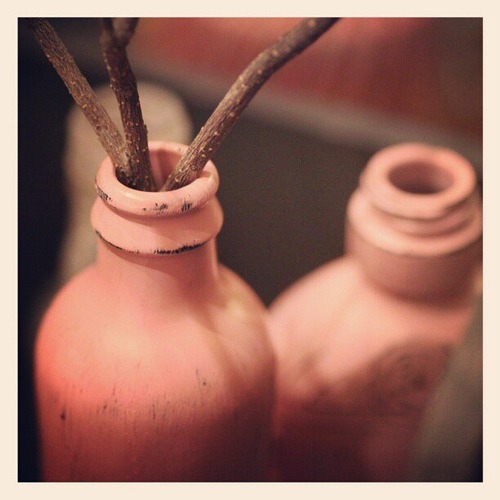
Step 4: put your branch in the bottle to make a tree. Then you’ll need to decorate the “tree” with ornaments. I wanted a little bit of glitter with my rustic… and a little bit of bookish whimsy.
Homeschool mamas love books. That’s why my centerpiece has a stack of books inside it – and hearts made of books hanging from the tree.
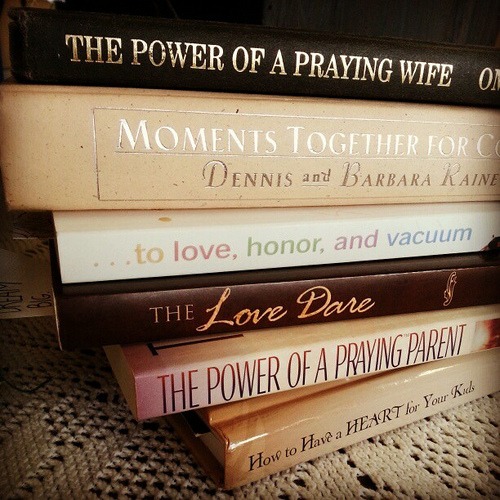
Step 5: You can gather up a handful of books that you’d like to read in February to put in your centerpiece. I found quite a few.
The bookmarks that were sticking out of them already were ugly, so I slipped in a few hand-made ones that my daughter, Morgan had already created. One says, “Dream Big” and the other is a pen and ink drawing. You could go all out and make heart-themed bookmarks from the scraps leftover from your next step if you wanted. Morgan created artwork on a canvas with hers, instead.

And you know… home made bookmarks or distressed bottles would be fun gifts for Valentine’s Day. Hand made is always best!
See Morgan’s lovely artwork back behind the books? We cut out hearts from old book pages and used three hearts for each ornament. What was left was a three-heart-hole on a book page… perfect for use in a decoupaged mixed-media canvas. And those would also make fun Valentine’s gifts. Hobby Lobby also had framing mats half off – just sayin’!
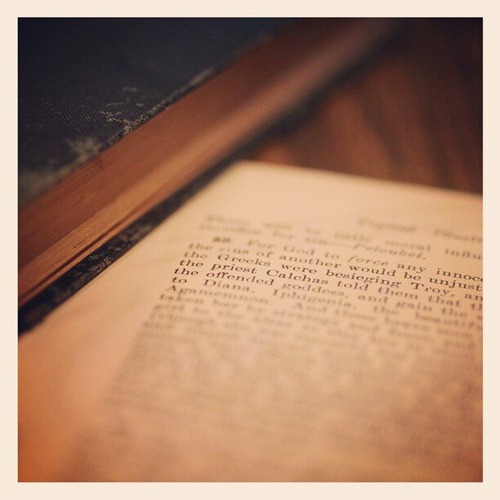
Step 6: Find a book to tear apart.
To decorate your Valentine’s Tree, you’ll need an old book no one loves any more. Before I burst in to tears, let me just admit that it hurt bad to tear those pages out. I wanted to sit and read that book first. It smelled like a musty old library shelf. #love
But alas, there are some books that are just better off crafted. This was one of those books. Now people are forced to try and read little snips of it as they admire my heart-shaped ornaments on the dining room table. It is still being useful.

Step 7: Tear out one sheet and fold it over to create a perfectly symmetrical heart. Three hearts (exactly the same size) for each ornament. Staple in the middle, then fluff the sides so that sides are at angles.
Step 8: You can interchange step 7 and 8 depending on what you want your pretty little hearts to look like, but we have about 2-3 without any alteration (just old book pages with no color) and we have a few that we water colored with different shades of pink and then modpodged. You’ll want to color them before you staple them and string them on the tree, though. I just made my non-colored ones first, then decided to add some pink.

Or rather, I had my 14 year old make them and color them. She did the heart ornaments for me.
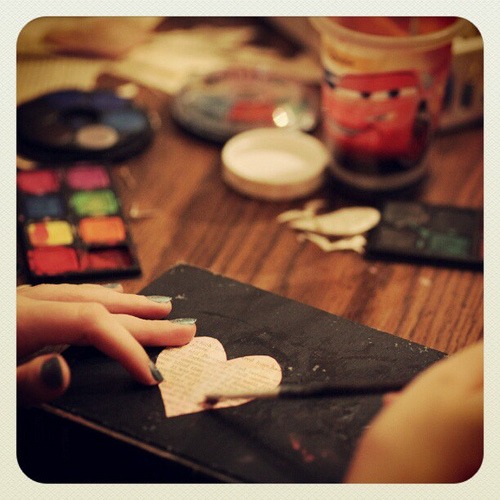
She likes to watercolor things. I’ve always been an artist since I was a child. I tend to stuff my art, though. I bought in to the lie that art is somehow less important than everything else. I’ve been forever saying to myself, “someday I’ll do that, but right now I’m just too busy”.
But as I have seen my kids blossom in to artists, too… I have started to hear my tiny jailed artist on the inside screaming to break free.
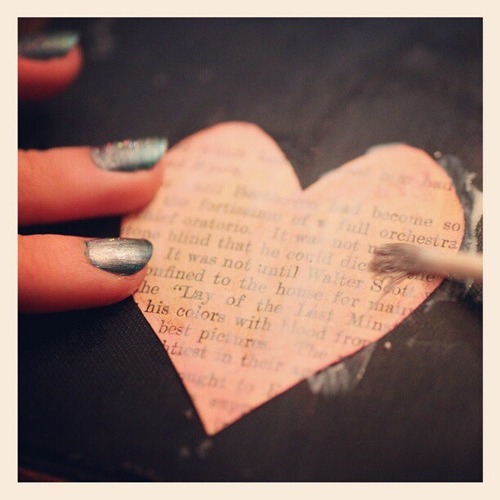
Step 9: Modpodge (optional). We love to modpodge, too. It preserves the color and art you create, it acts as adhesive, it puts a varnish on your final product, and it comes in sheen or mat finish. You can even transfer images from print with it – just like you used to with Silly Puddy as a kid. It is a MUST HAVE art journaling or altered book supply.
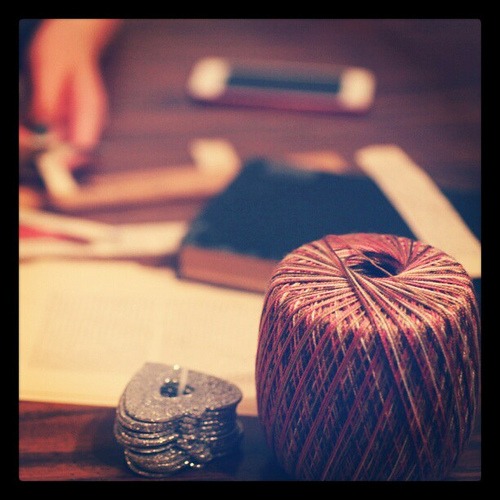
Step 10: Hang your ornaments. Best way to do this was with pretty string… so I bought some that had a gradient between brown, tan, and pink.
Note: You should try and limit your centerpiece to a few colors for everything to tie the theme in together. Mine was Black, grey, brown, tan, pink, and silver. Everything – even the books and string – matched somewhat. If you run in to a snag finding a book that matches, make a cover for it! You can even use newspaper to cover it, if that matches your theme colors.

I didn’t put an ornament on every branch. I left quite a few empty. I may add some non-colored book hearts later… and I might make a few to give out for Valentine’s presents to friends.
Step 11: Place everything just right and add your silver heart garland.
I added the extra sparkle because I like a little bling. The garland matches the glitter hearts and it’s all shiny and good.
Here’s what the finished centerpiece looks like from afar… without the sun catching it (it’s OH, so pretty in the sunlight).
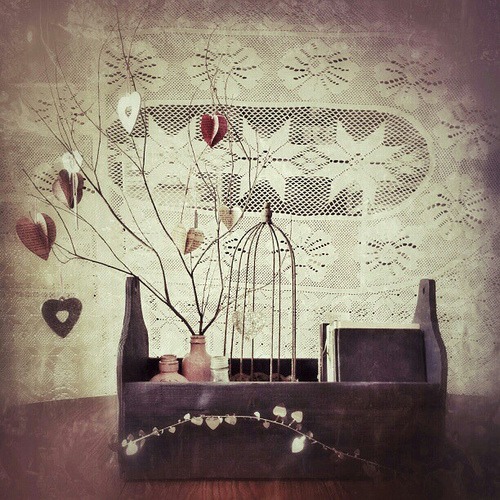
So what do you think? Would you want it on your dining room table? Do you think it would make you pick up those love-themed books and read them in the afternoon while the baby was napping? That is… if you could get your toddlers to nap at the same time…
{ What do you do to decorate for February? }
In His Grip,


[…] Valentine’s Tree Centerpiece – Beautiful artwork, great for the older crowd. […]