Because of some repairs we needed to make to our house (a door that had a rotten frame, walls that needed paint, carpet that needed to be replaced), I decided to tackle a Pinterest-worthy dream I’ve been having of “remodeling” and re-purposing my living room and dining room spaces. Of course, I have “dreams” for every room in the house, but the flooring project we embarked on has made my living room/dining room transition the priority. We knew we needed to replace the downstairs carpet that was looking really ratty, so we chose wood-look ceramic to replace it (so we hopefully will never have to do it again). The ceramic doesn’t ruin if water gets on it (and we are planning to use it all throughout the downstairs – even in the kitchen near the dishwasher, sink, and water dispenser that leaks often when little boys don’t empty the catch tray).
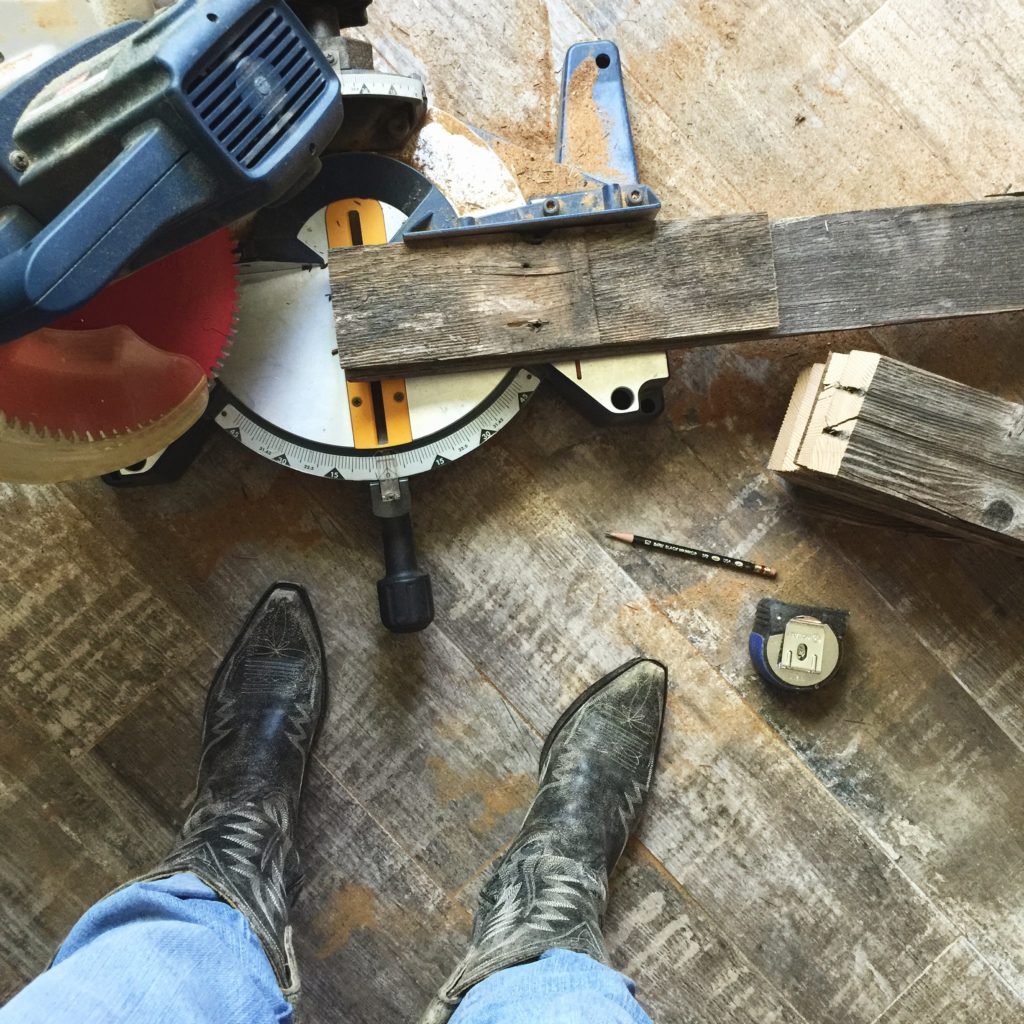
Plus, I wanted flooring that would look good with my boots.
Our first step was to move furniture, rip out carpet, scrape up glue and tack strips, and level the floor where it needed leveling compound. Lowe’s wanted more money than the tile and supplies cost us to install it, so we decided to give installation a try ourselves – which has been one of the best financial decisions we’ve made. After learning through trial and error, we’ve discovered that DIY isn’t that scary after all. It has breathed new life into my “Pinterest Board Projects” and I’m thrilled with our progress so far.
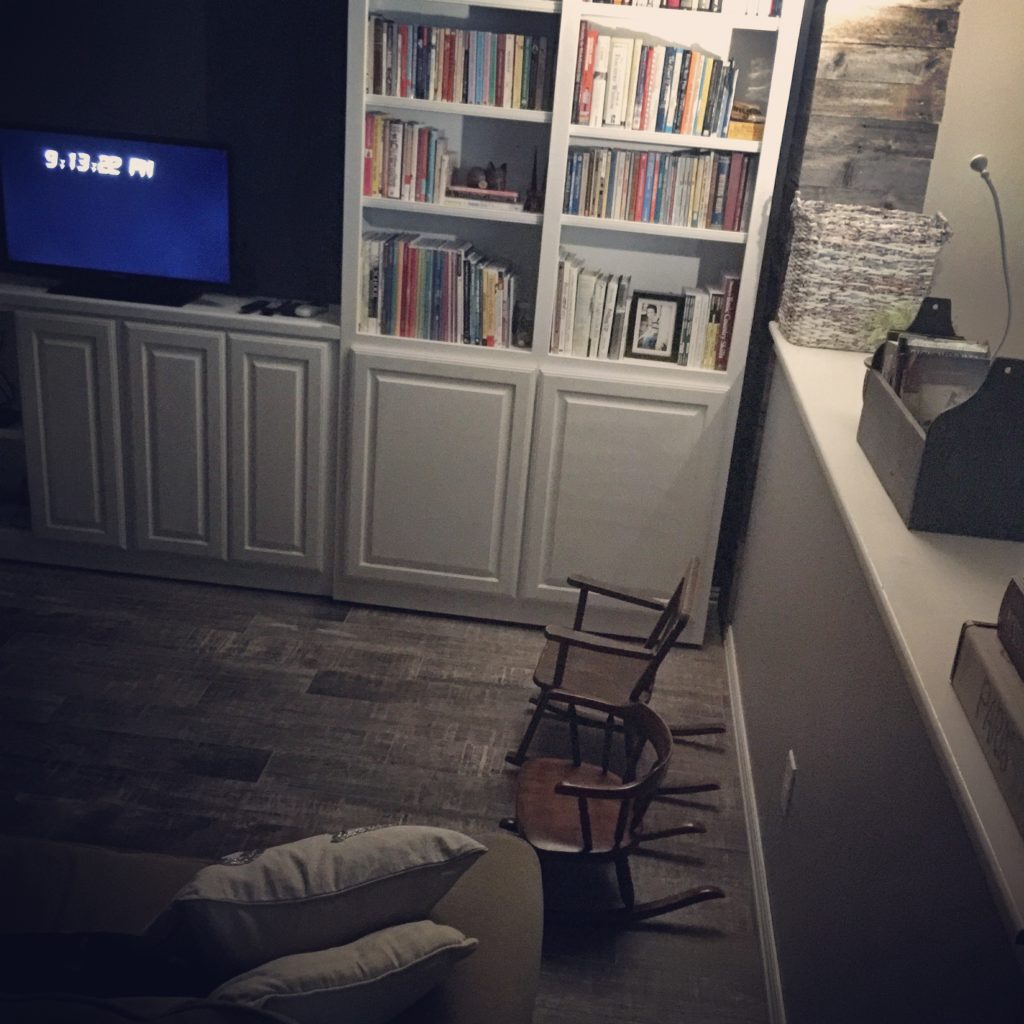
Kevin finished the dining room first. I was planning to move the TV in there to the middle of our book-case we had already built for the space a few years ago. I was using it as a makeshift “buffet”, but it was too small. I didn’t like having all the school boxes and papers in baskets right when you walked in, either. I figure since the place you watch TV should be cozy, a smaller “living room” would be a perfect change (and it would leave room for a LARGER dining room farm-style table to go in our previous living room space, right off the side of the kitchen).
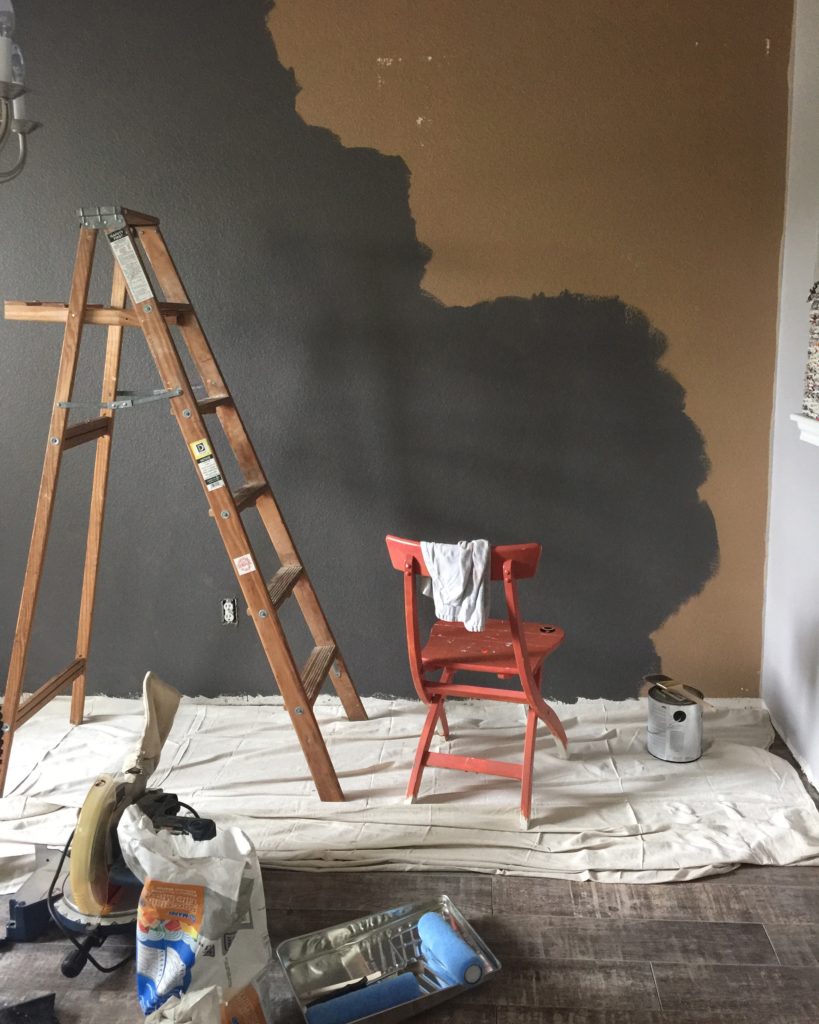
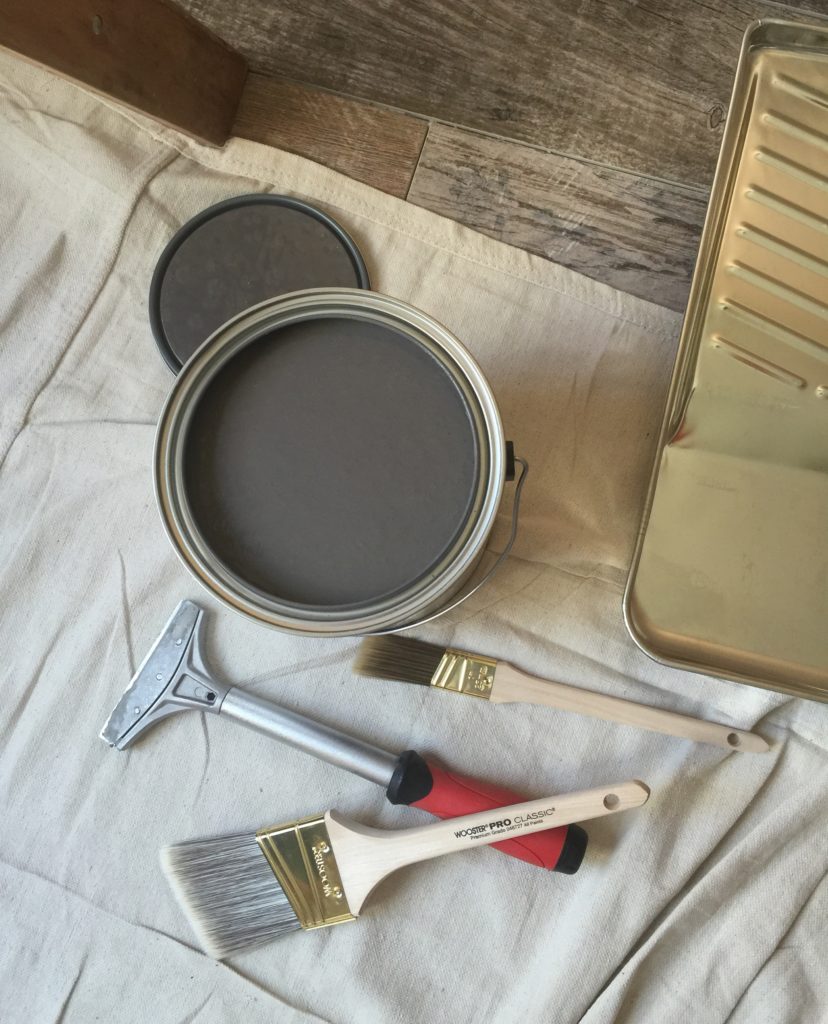
Another design element I decided to go with was adding in rustic wood and gray paint. Previously, everything in my house was tan and we had couches that we’ve owned for over 12 years that were red, gold, and oversized. I had red drapes and throw pillows that were very fall-color oriented. After so long, I have moved into a “grey phase” and grown deeper Texas roots – allowing my inner cowgirl to blossom. As a kid, I grew up in a house built by my step-dad in the Texas hill country and he had everything made of reclaimed wood or wood scraps. I wasn’t that in to country music and rustic cowgirl decor back then, but it has finally resurfaced for me… you come back to your roots.
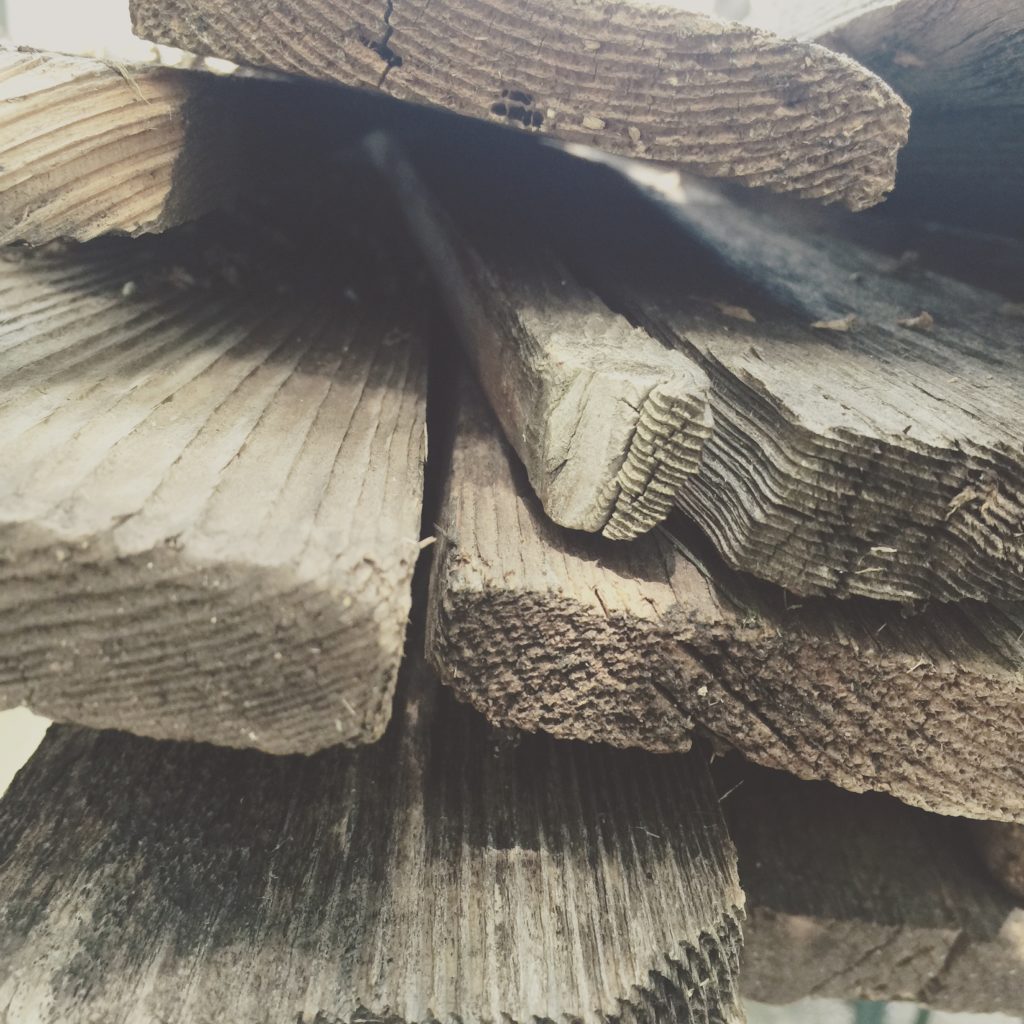
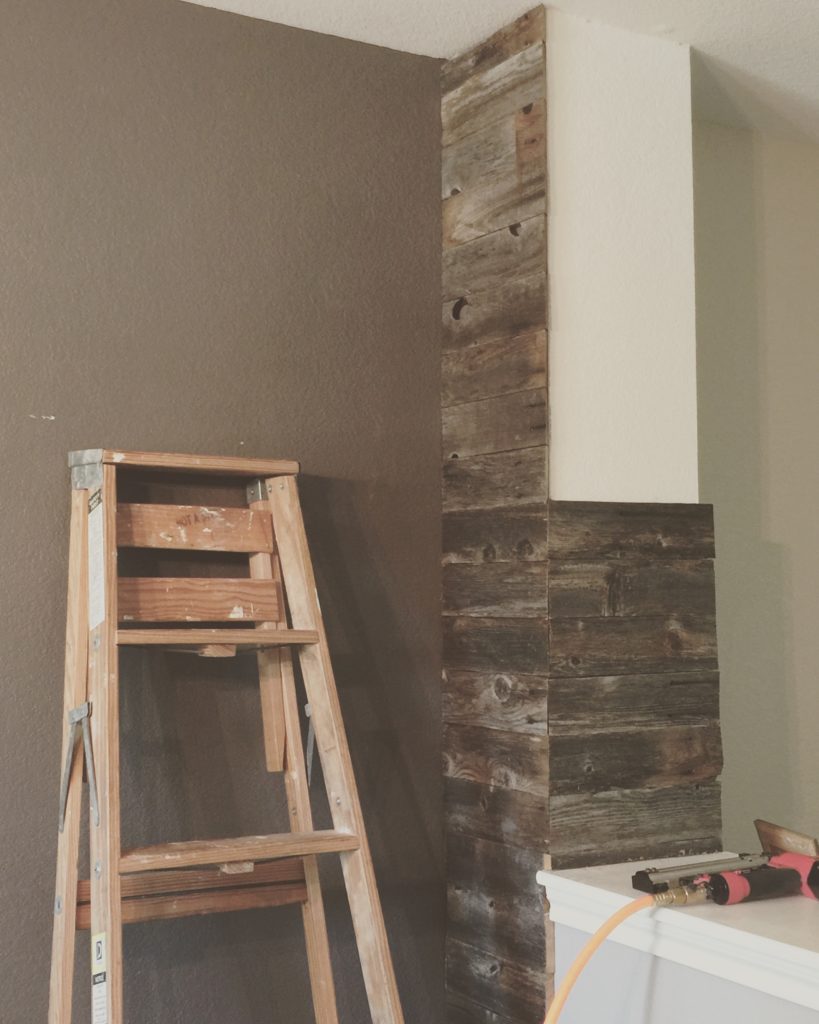
When our fence blew over this spring, we lost a good 100 or so planks and we were really upset that the builder here had used untreated pine wood which weathers quickly and isn’t structurally sound for fencing. Kevin replaced the fence with treated fence wood himself, leaving a huge pile of gorgeous, gray, rustic wood in my back yard. I knew then that I was going to do something with it, but it wasn’t until I got on Pinterest and saw some wood-wrapped pillars and wood-covered walls that I knew what exactly.
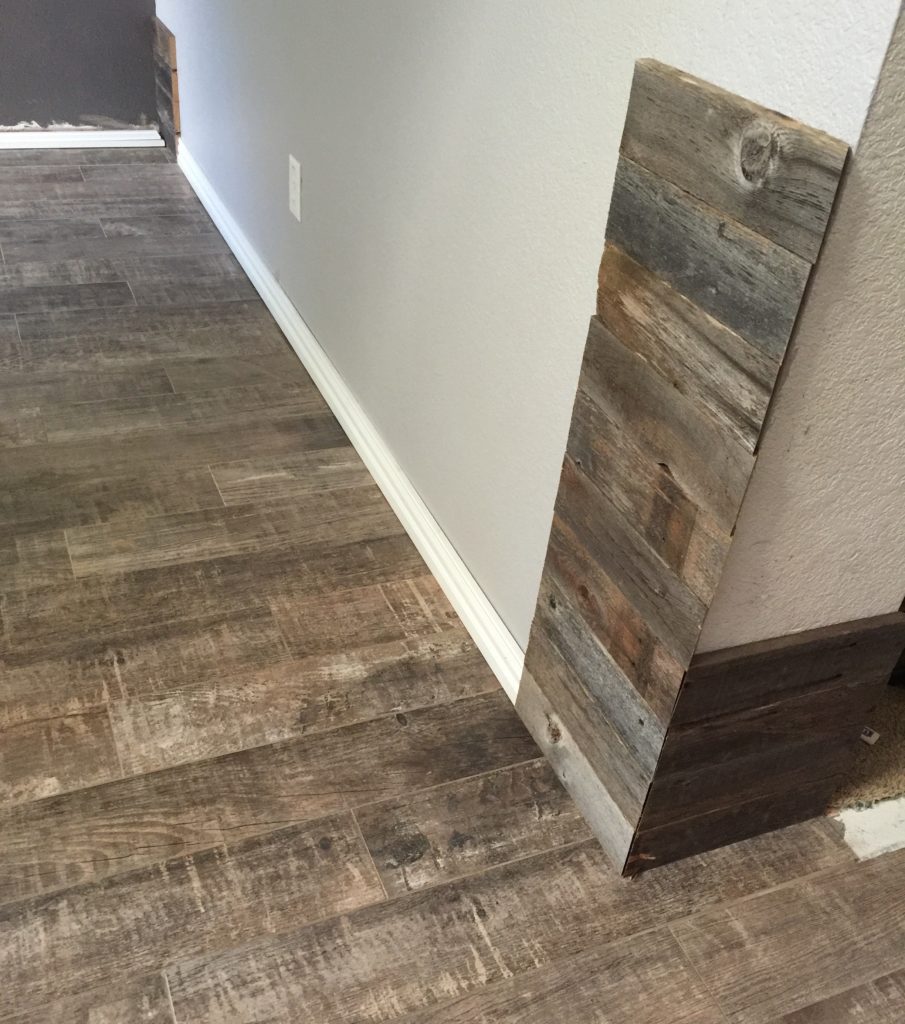
When the flooring project started, I was amazed that the wood planks and wood ceramic looked so fantastic together. The guys (my 19 year old who was helping and his dad) couldn’t understand my vision of enclosing the faux pillars with them until the work was nearly complete. Both of them agree now, though, that the walls look amazing. We “enclosed” or covered three modern-looking sheet-rocked areas that now look like rustic wooden “pillars”.
I can’t tell you how much I love how the ceramic, wood, and paint have re-made our dining room area. It has become my new, cozy, rustic, cowgirl den. It is my favorite room in the house now… until we get the rest of the DIYing on!
I’m just getting started! Well, my husband would tell you that I’m the “brains” behind the project and he’s the muscle. I can’t deny that. While I have used the saw and the nail gun and helped a lot with the project, it has been him who has done most of the work! He’s torn up his knees laying hundreds of square feet of tile – mortaring and grouting it.
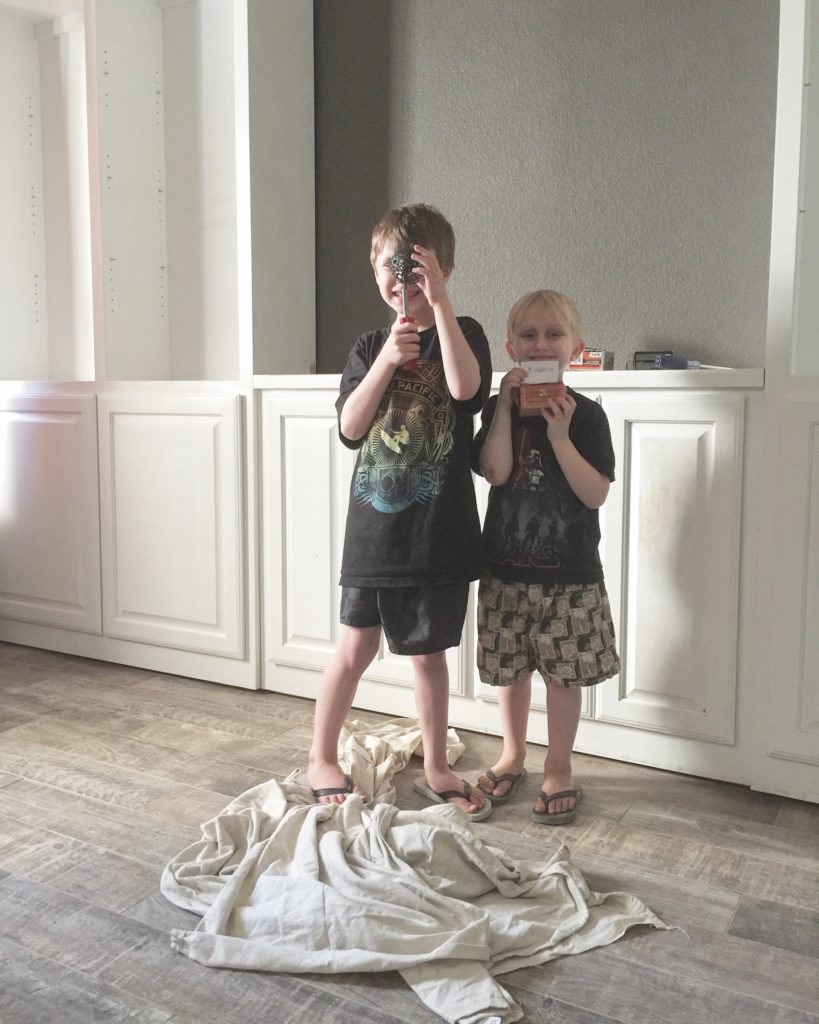
When the dining room trim was in, and the pillars were mostly covered (except the ones which have a side facing the living room), we moved the book cases back in and spruced them up with white spray paint. We used the same paint that we painted our new base-boards with to make it match. Originally, I was considering doing crown molding, but after we did our really fun cowgirl pillars, I like the way they look at the ceiling without any added white up there. The book cases provide enough white for the room. Eventually we’ll be adding a white ceiling fan, too – and white pot lights… and possibly some white frames for pictures.
We sold the old couches and brought our game-room couch down to use until we can afford to buy a gray couch. My plan is to get one with a chaise – the more velvety, the better. I made the mistake of selling our swivel chair and couldn’t find another one as nice as it on Craig’s List, so we got a gold one made by Avon in the 1970’s and plan to recover it with silver velvet when we can afford it. To pull the gold chair and tan couch together for the mean-time, I purchased a gray blanket and a few throw pillows. I think they look fine for now. Transitions take time (and money)… and I’m OK with a wait as long as we are slowly making progress.
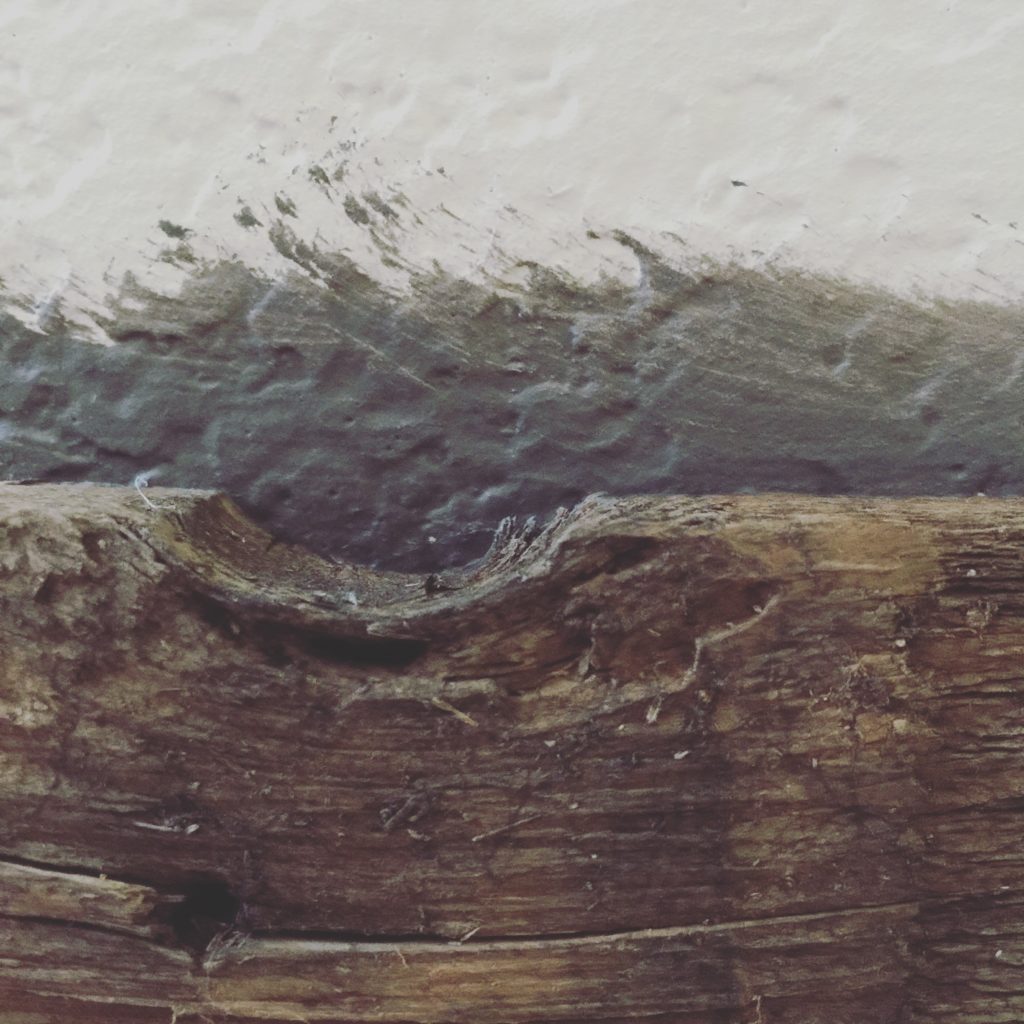
Now that the old living room is empty, the man is ripping carpet out today so he can begin tiling again. Our next step is the floor in that room, and finishing the backs of the wooden pillars that reach up to the ceiling. I have to do a little bit of staining on them where the saw exposed fresh interior wood to make them look weathered everywhere that is visible. We have to rent a tall ladder to paint the entry-way, also. There are plenty of light fixtures to move or replace, too. Always some small project to do each week as we have the time, energy and funds.
I love that DIYing has given me confidence to change things around me and make them beautiful. I love that it has given us a project to do as a family. I love that it has kept me busy; hard work is the best therapy. I also LOVE THE RESULTS.
I’ll be back in every now and then when I have pictures to give you new updates on my rustic renovation. I can’t wait until we are finished — but then, now that I have the DIY “bug”, I doubt we will really ever be finished! By the end of July, though, I hope that we have the dining room at least as finished as the living room already is.
I already have plans to build my own chandelier out of reclaimed wood… and my own farm table for the new dining room! Even homeschool moms can learn new tricks.
Here’s my list of things I’m hoping to get done by the end of July:
Replace the old dining fixture with a white flush mount fan and put in a couple of pot lights near the book cases.
Put a few string lights up above the book cases for ambient light while we watch TV.
Paint and gather a few more rustic “artifacts”, art and display items for the walls in the dining room and frame and hang them.
Save up money for the gray couch we hope to get.
Stain the spots on the pillars that need darkening after the saw cut through and revealed fresh wood.
Finish encasing the pillars in fence wood and replace light switches.
Finish ceramic tile and baseboards in new dining room.
Purchase white fake-wood blind for front window.
Install new curtain sheers and cornices on all downstairs windows.
Purchase wood and stain to make table.
Purchase piping and electrical elements to create chandelier for dining room.
Move fan from old living room upstairs to game room.
That ought to keep me busy, no? Happy Fourth of July weekend to you! I hope you are finding something to do that makes your life more beautiful, too.




[…] and I had nothing left to put in to “other projects” (like blogging, finishing the remodeling projects, gardening, etc.). If it wasn’t a necessity, it was set aside for a […]